A friend sent me this recipe and, as she’s responsible for a number of the killer sweets you’ll find on this site, of course I was going to try it. And how pretty are these cookies? Who can resist? They reminded me immediately of the movie Elf. All I kept thinking when looking at them was, “I passed through the seven levels of the Candy Cane forest, through the sea of swirly twirly gumdrops, and then I walked through the Lincoln Tunnel.” Mostly the part about the swirly twirly gumdrops.
I made these for my book club’s holiday party, and they were so pretty I couldn’t stop staring (or eating them). That being said, they were kind of a huge pain to make! I forget how much I dislike rolling out dough, and the sprinkles brought this to a whole new level of messiness. I said that to my friend, actually. I remarked how she probably gives me all the recipes she doesn’t want to destroy her own kitchen by making them herself. But they were so good, and so pretty, I will for sure suffer through it again. The sugar cookie recipe is solid, and beyond the prep, they’re really just slice-and-bake! They do require some chilling time before baking, though, so it’s a recipe you’ll have to prepare ahead a bit.
SWIRLY TWIRLY SUGAR COOKIES – makes about 4 dozen
- 1 cup (2 sticks) unsalted butter
- 1 1/2 cups white sugar
- 2 eggs
- 2 tsp vanilla extract
- 3 cups AP flour
- 1 tsp baking powder
- 1/2 tsp salt
- about 1/4 tsp food coloring (I started with 8 drops and added ’til I got the color I wanted)
- about 1 cup sprinkles of your choosing for garnish
In a medium bowl, whisk together the dry ingredients – flour, salt, and baking powder. Set aside.
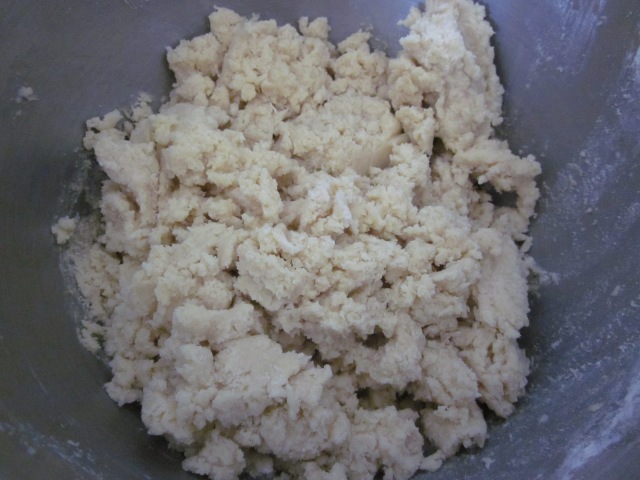
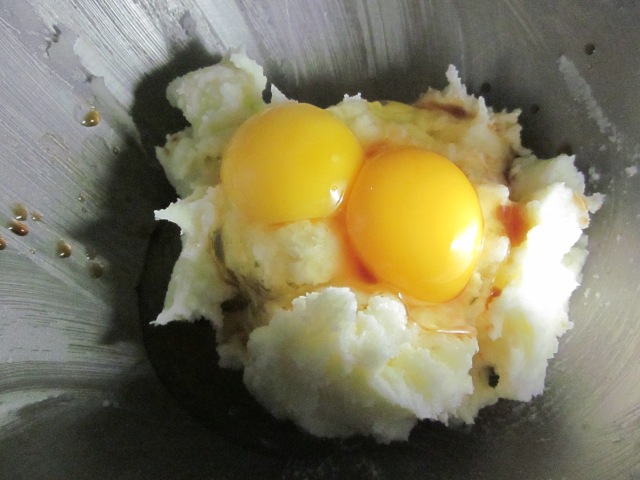
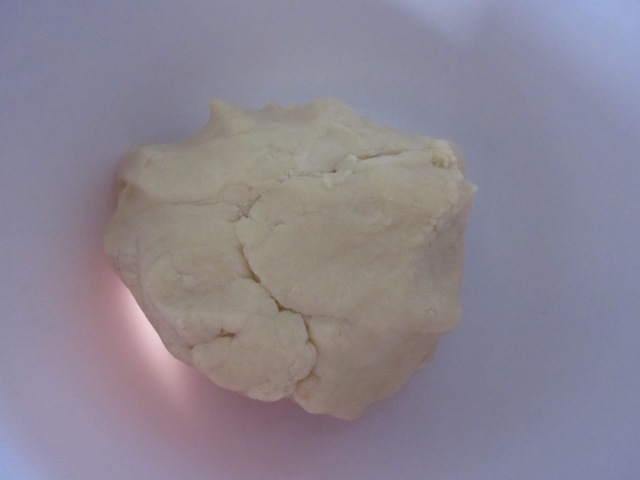
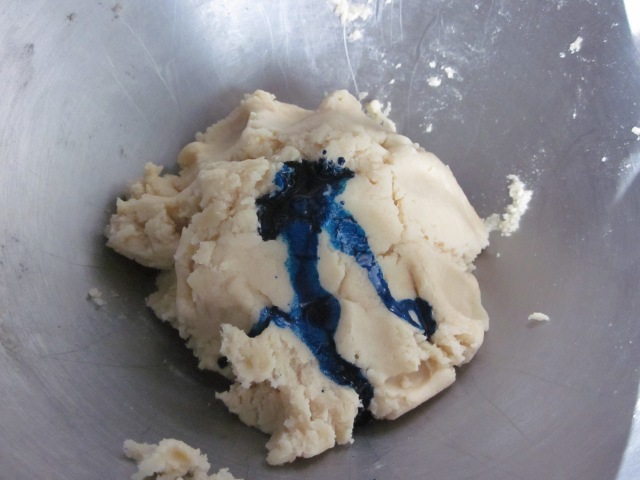
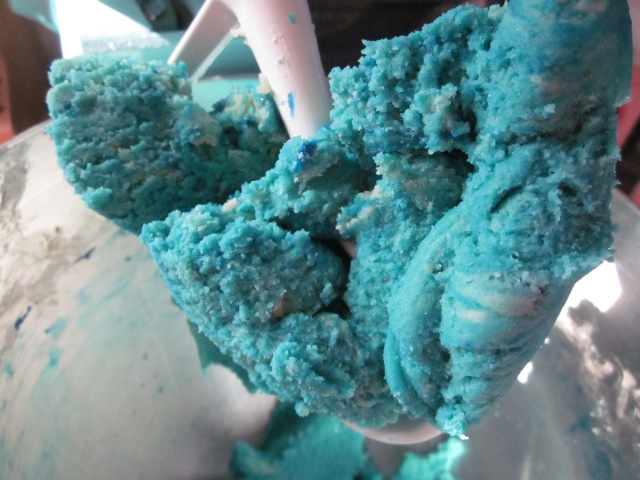
In your mixer, cream together the butter and sugar until light and fluffy. Then add in the eggs and vanilla and combine until smooth. Add your dry mixture in a bit at a time and mix until the ingredients are incorporated. Don’t over-mix! The next step will be to split the dough in half because you’ll be adding food color to one of the halves and you’ll need to mix it some more to get the color evenly spread. I thought the blue in the originals was so pretty, so I opted to use that as well. But red or green would certainly suit the holiday season too!
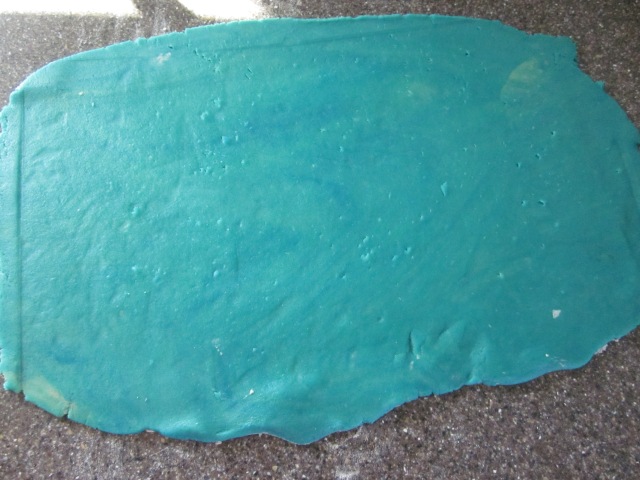
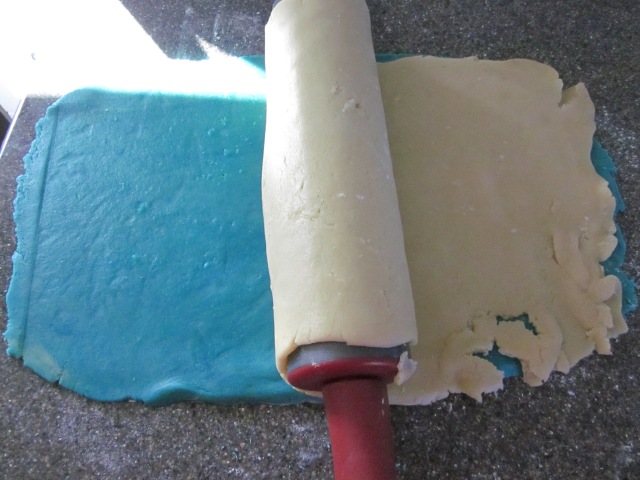
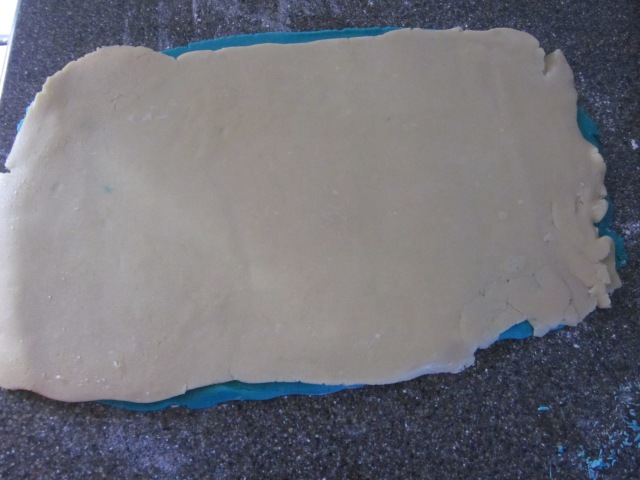
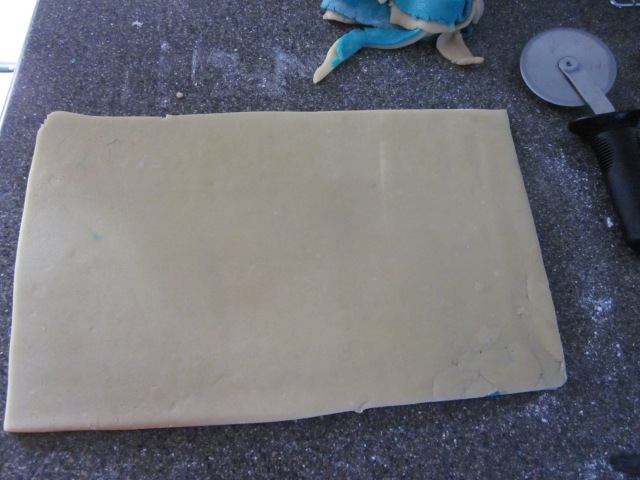
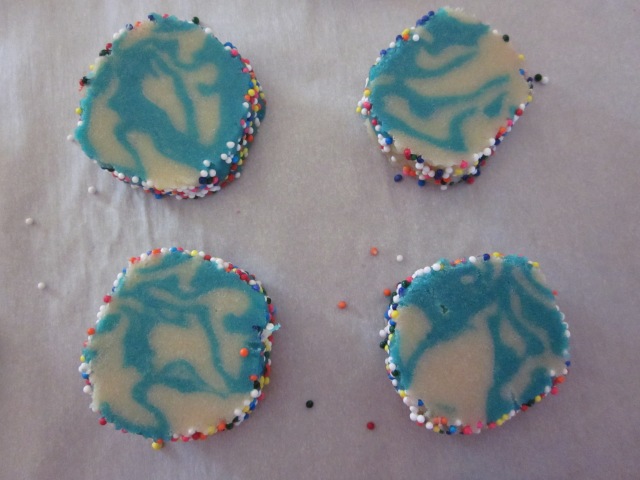
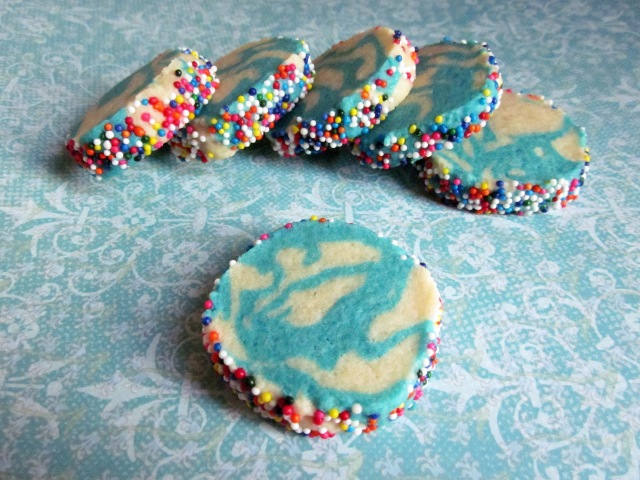
Next, roll your dough out into rectangles on your counter. You want them to be about 1/4″ thick. Make sure you flour everything. The part I had the hardest time with was not having enough counter space to roll both next to each other, so I rolled one and transferred it to the back of a baking sheet until I was ready to combine them. That didn’t go as smoothly as I had hoped (rolling it around the rolling pin it just all ripped apart). Anyway, when you have 2 rectangles about the same size, put the lighter dough on top of the colored dough. You can use a little water on top of the darker dough to help them stick better. Next, you’ll trim the edges with a knife or pizza cutter to make even sides. She recommended saving the scraps, as do I, because you’ll get another batch of cookies out of it (I got 10), and they’ll have an awesome marbled pattern to them!
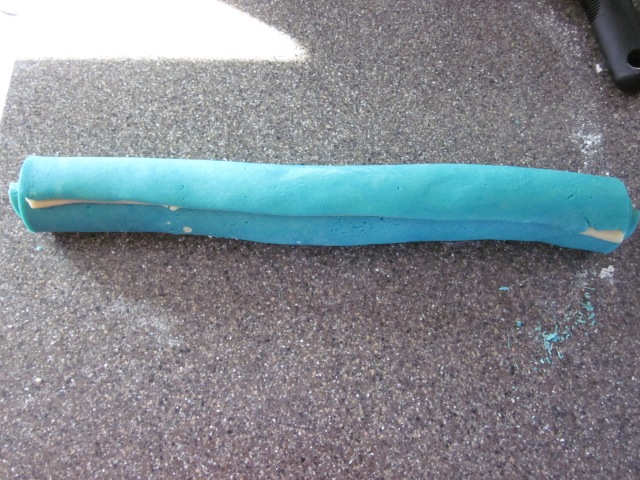
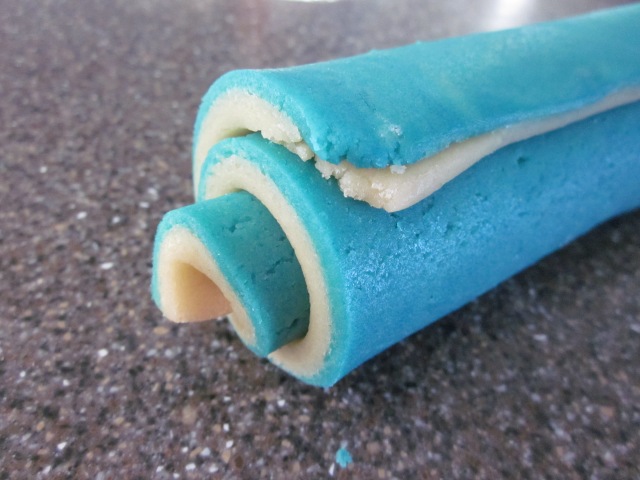
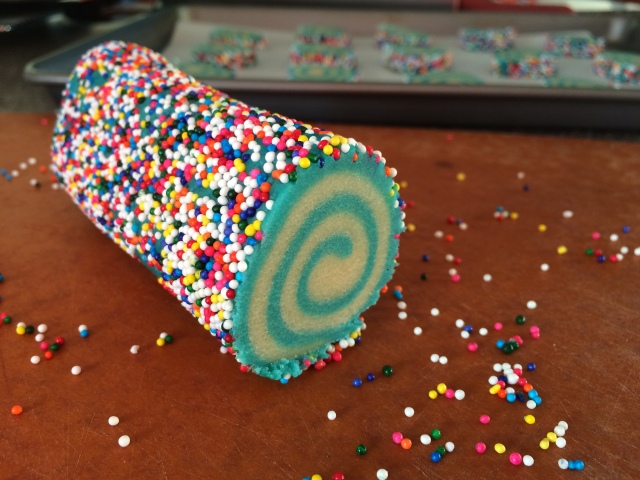
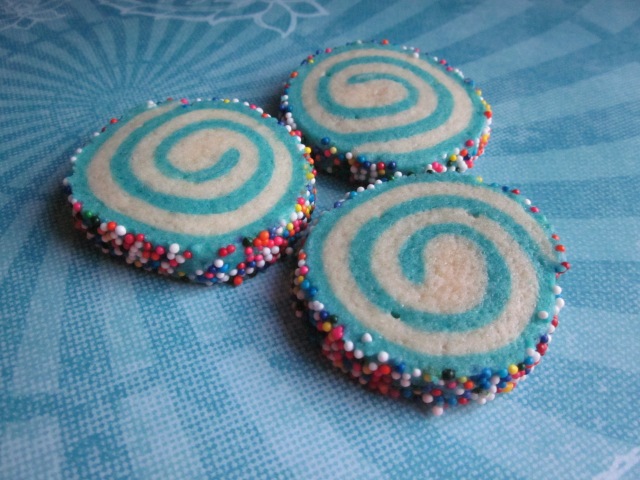
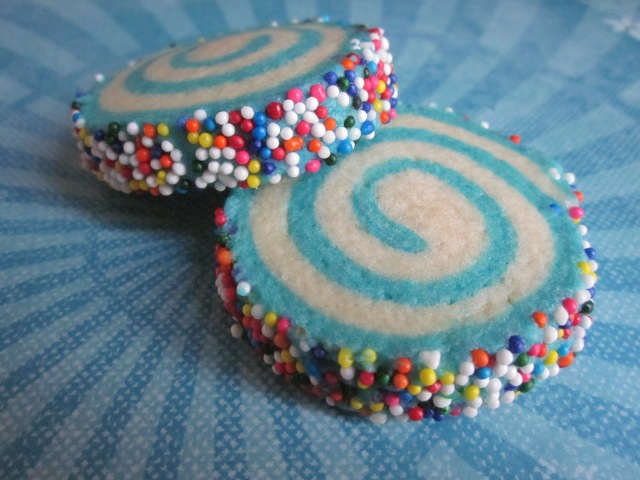
Starting from the wider side, roll your doughs together to form a pinwheel.
Then you can take your leftover dough, from trimming, and knead it together to make a smaller log. This will make your marbled cookies.
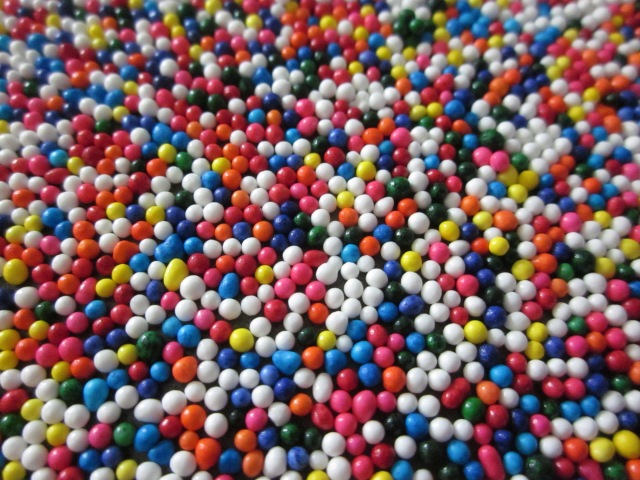
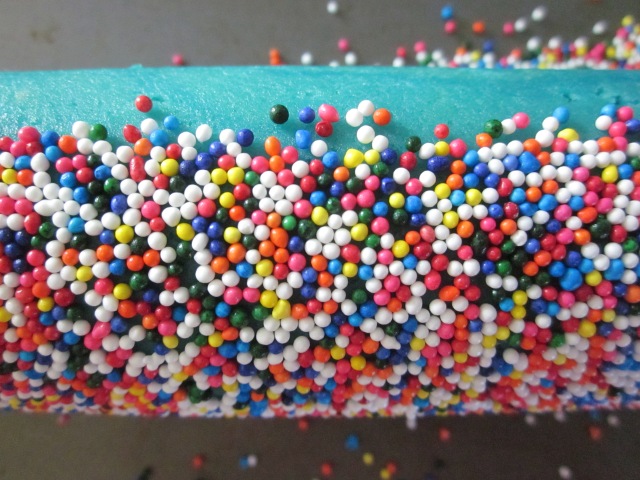
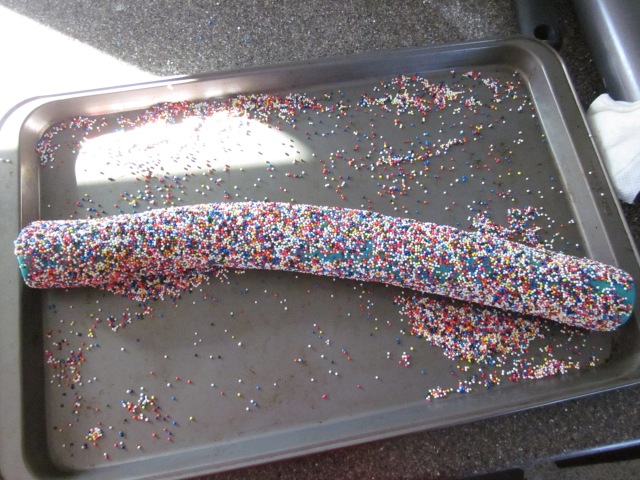
Finally, it’s time for sprinkles! I wouldn’t recommend doing this on your counter as the original recipe says, but I would suggest carefully pouring them onto a baking sheet. It won’t stop them from flying everywhere, but it will help contain them. Use a pastry brush to spread a little water on the outside of the dough to help the sprinkles stick. This part was a bit of a nightmare. The water causes the colors of the sprinkles to bleed, there were sprinkles bouncing everywhere, every time I rotated the dough to put more sprinkles in spots my fingers would rub off the ones that were there, and in the end I just couldn’t quite get them evenly distributed. After awhile, it was just good enough 🙂
Lastly, wrap the dough in plastic and put in the fridge for an hour, or freeze it! If you freeze it, you can bake them at a later date, or just speed up the chilling process. Unfortunately when my dough set it didn’t do it as roundly as it had been, but it added some charm to the cookies, right?
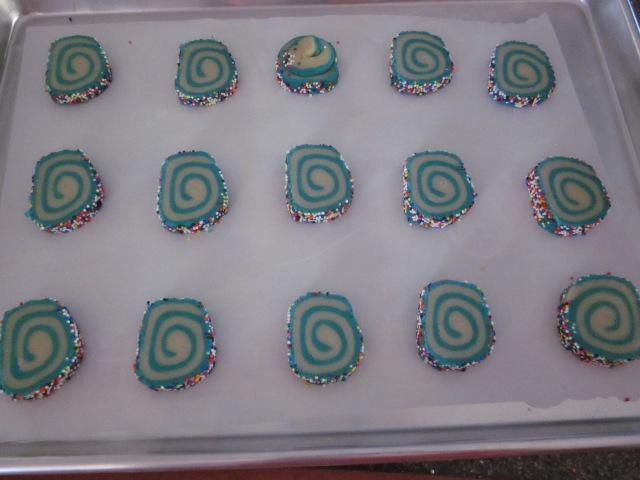
Once the dough is chilled, preheat your oven to 350F. Then it’s time to slice the cookies. Use as thin a blade as you can, because it won’t squish the dough when you’re cutting into it, and make about 1/4″ slices. I think mine were closer to 1/2″. (They’ll just require a bit more baking time.) Put them on a parchment-lined baking sheet and you’re set! Bake for 8-10 minutes.
A great baking tip from the original recipe is that when the cookies are raw the dough looks kind of “wet.” As they bake you’ll see they lose their sheen, and that’s when they’re ready. It was a really great gauge as some of the cookies were thicker and didn’t bake through in 8-10 so I left them in longer.
Let them cool in the pan for a bit, then remove to a wire rack to cool completely before enjoying. These were super tasty! Like I said, solid sugar cookie recipe. The only downside is everyone could tell I’d already been dipping into them because my tongue was blue by the time I showed up at the party.
These are an Evil Rating of 4 both because they’re addictive and kind of a pain to make 🙂


Even if they ended up tasting bad ( not yours of course), I wouldn’t care because they look spectacular!
Adore. The colours are so vibrant!
Cheers
Choc Chip Uru